Topics
Filled Chocolates (2017)
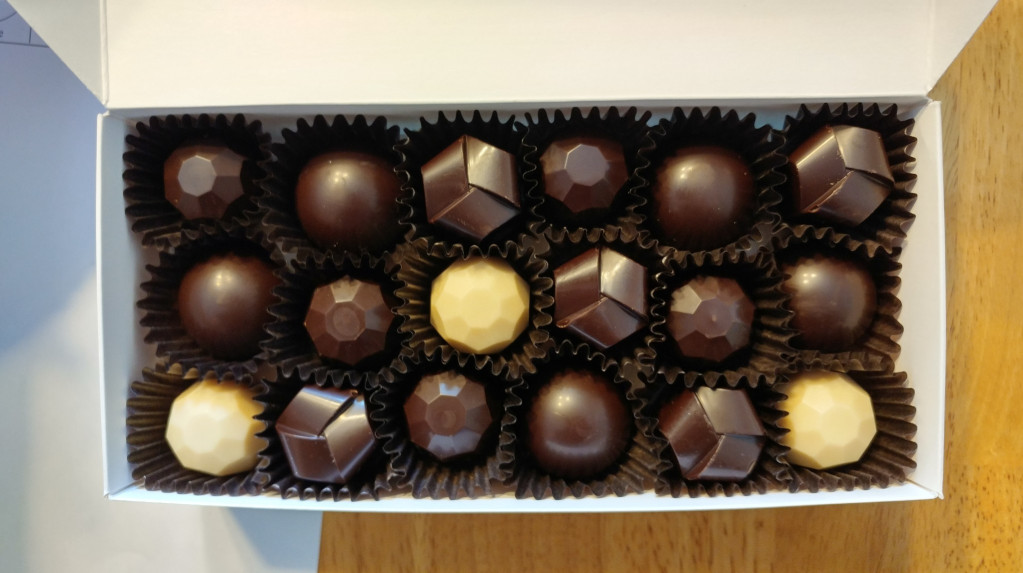
This was my first time chocolate casting with candy molds. I decided on four varieties of filled chocolates: three with dark chocolate exterior (filled with either coffee ganache, caramel, or raspberry jam) and one with a white chocolate shell containing vanilla ganache.
I wound up purchasing three polycarbonate chocolate molds. Learning the right technique was the tricky part. I've covered chocolate tempering in a separate post, so I'll just talk about the molding process here.
Dealing with tempered chocolate is already a delicate process involving specific times and temperatures. Making filled chocolates adds another layer of complexity on top of that. It goes like this:
- Fill the mold with chocolate (tempered and at the working temperature).
- Knock out as many air bubbles as possible.
- Invert the mold to pour out enough chocolate that the cavity stays coated, but will leave sufficient space for the filling.
- Scrape excess chocolate from the surface, without clogging the cavities back up.
- Let the chocolate shells harden just the right amount.
- Pipe the filling into each one, leaving enough headspace for the second layer of chocolate to "close" the candy.
- Spread chocolate on top, then scrape it away to leave a flush surface behind.
- Let the whole thing cool and harden. Ten minutes in the freezer seemed to be the right amount.
Once sufficiently cooled, the crystallization of the cocoa butter will cause the chocolates to shrink slightly. This allows you to invert the molds and the chocolates will fall out. They still need a few hours to fully crystalize, but this can be done at room temperature.
It sounds complicated, but once you get the feel of it you can get a good rhythm going. The time one mold spends in the freezer, another mold can be getting filled, for example.
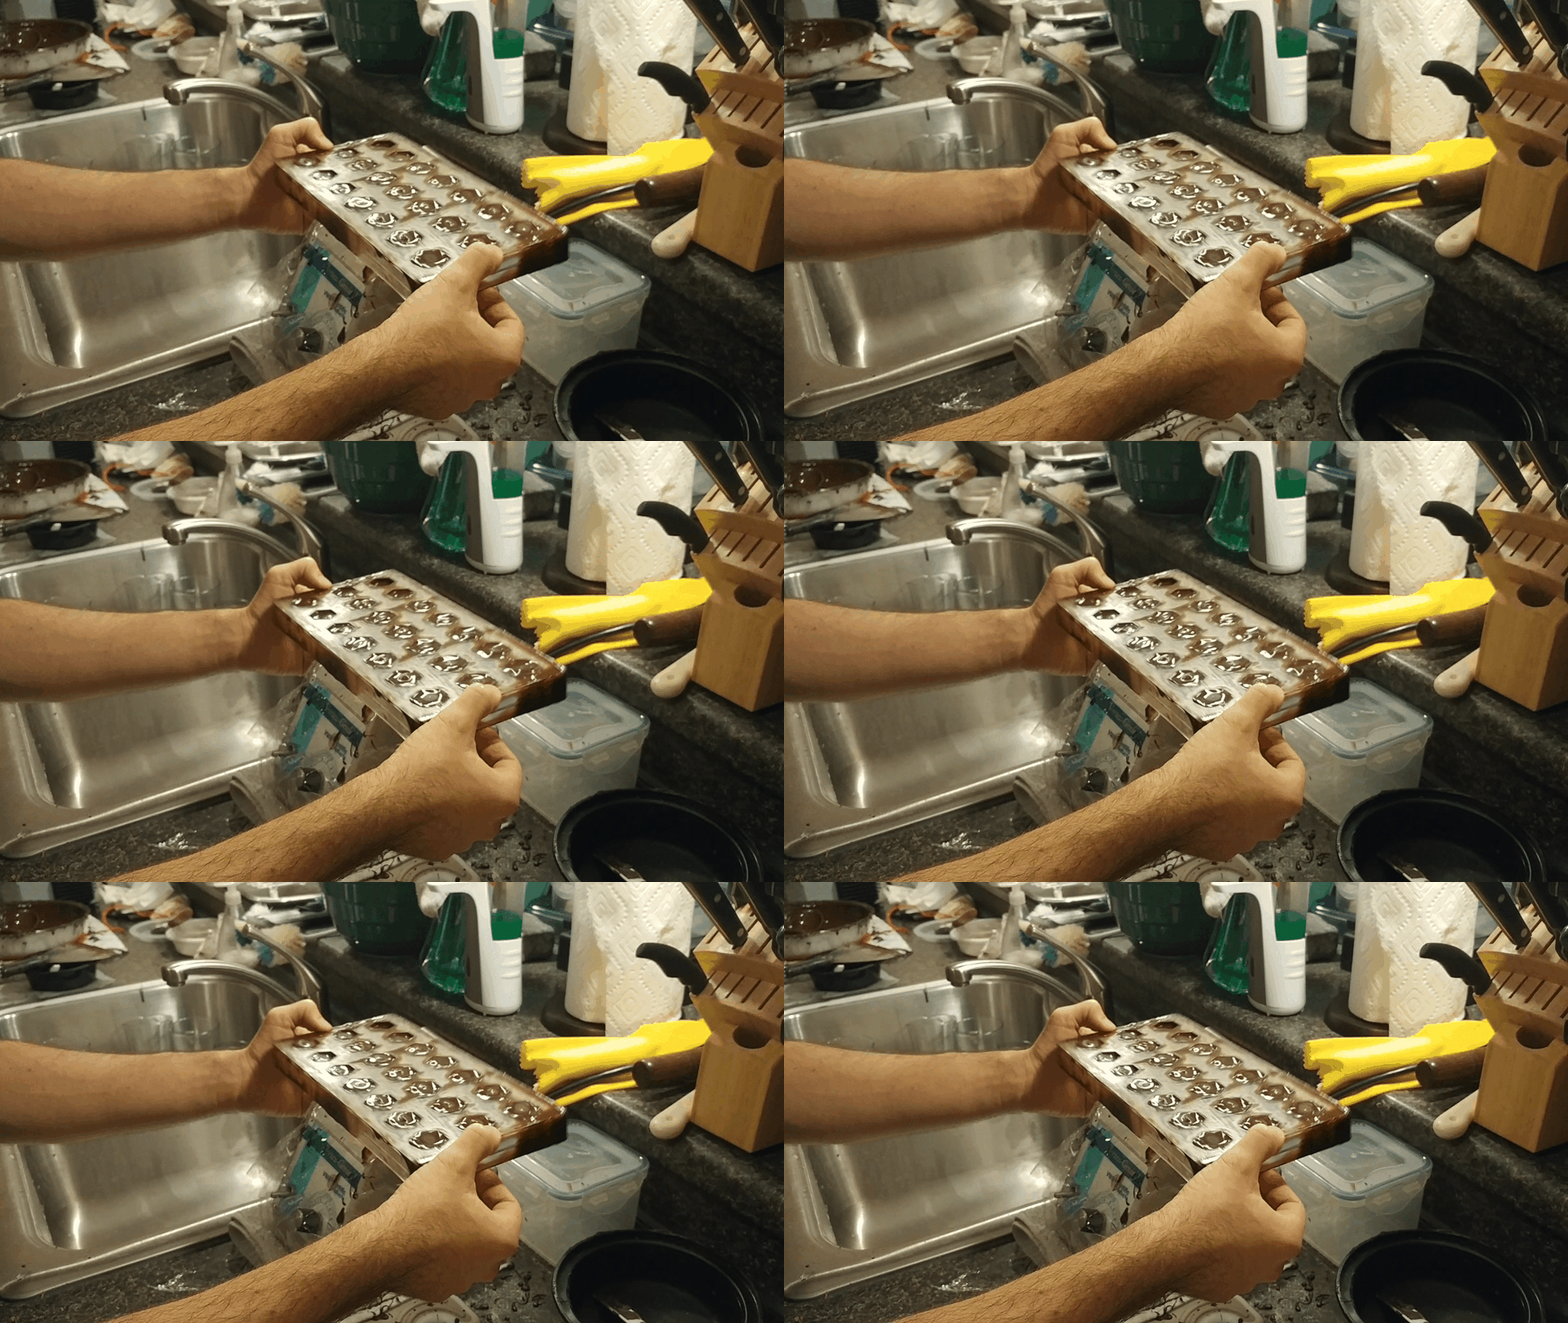
A secondhand vortex mixer (typically used in laboratories for stirring vials) served as a valuable tool to shake the bubbles out of the liquid chocolate. A lot of air pockets form after pouring it into molds, which can be difficult to remove due to the chocolate's viscosity. Lightly dropping the mold on a countertop can help, but this machine made a huge difference in the finished quality of the chocolates.
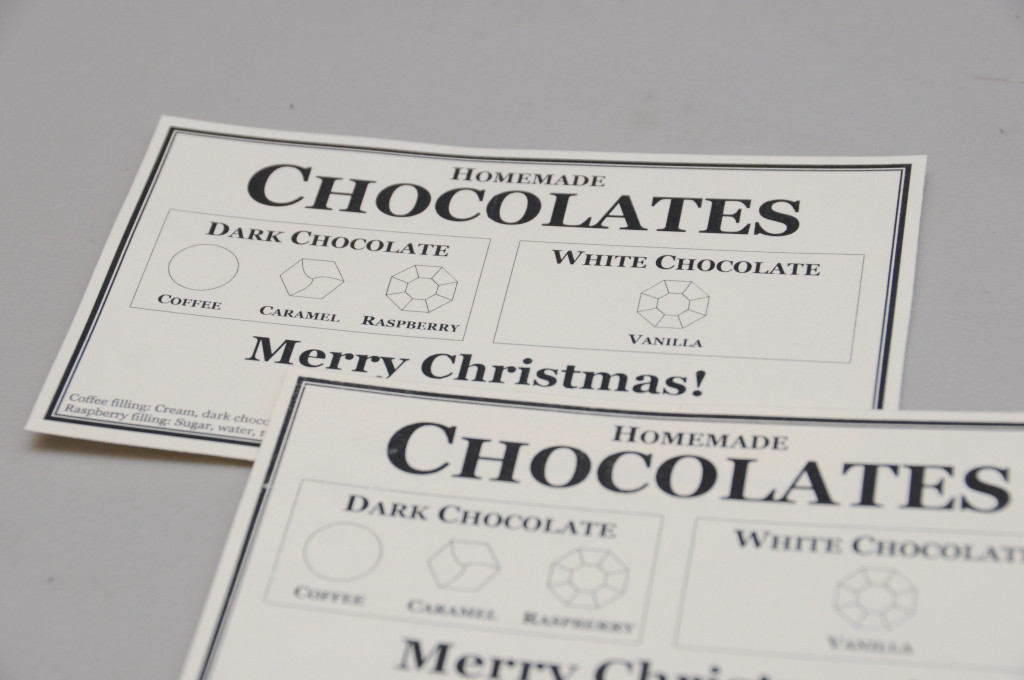
For packaging, I placed each chocolate in a glassine wrapper (those ruffled circular brown paper things that peanut butter cups are made in) and arranged in a box, complete with the flavor key pictured above. Delicious!


